However, we understand that certain things (i.e. cells with a lot of detail) may not fit neatly.
Here's just a few tips to help fix them up...
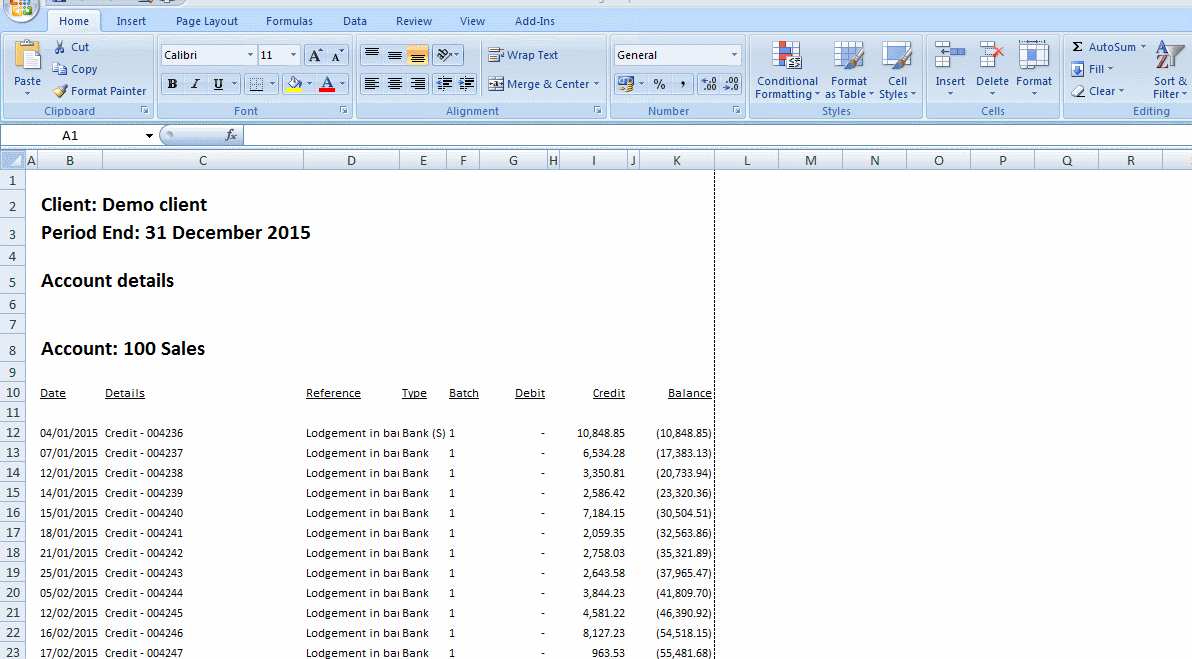
(1) Autofit excel column widths
This will ensure all cells have the full text visible. See demo below:
- We recommend you omit "column B" from this action where 'title rows' (rows 2-8 seen below) dominate the column width
- Highlight the columns you wish to autofit and double-click the break between two of the columns
- Alternatively (without highlighting multiple columns) just double-click between the columns you want to autofit
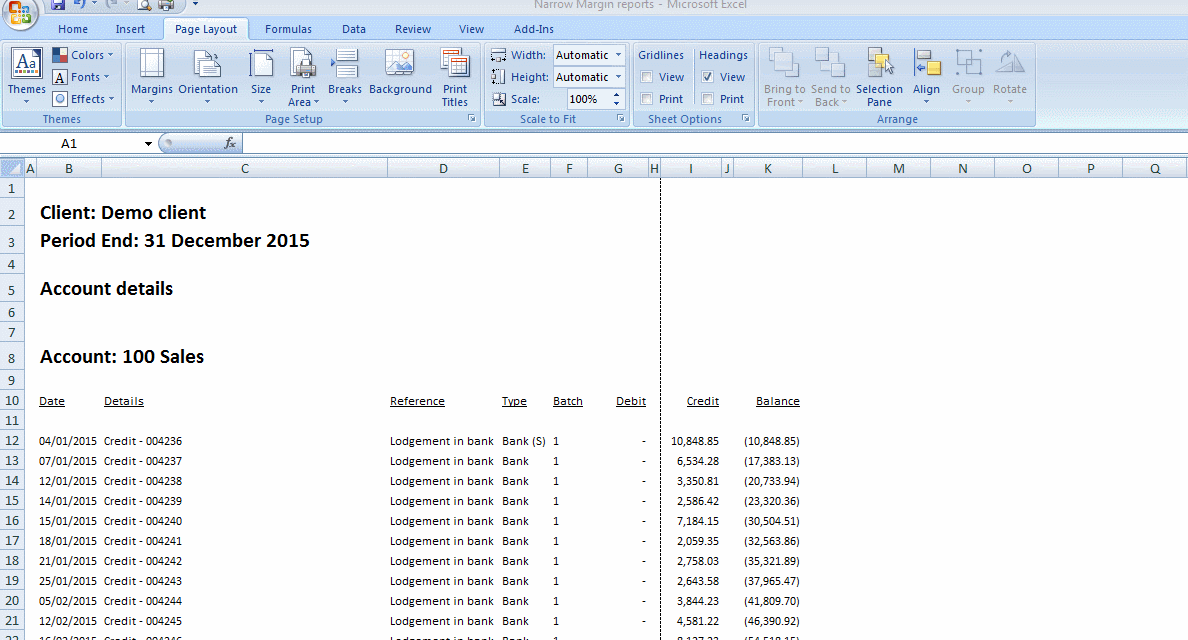
(2) Adjust the margins
If it's not all fitting in you can try adjusting the margins.
We can see in the demo (below) that even with reducing margins from 'Normal' to 'Narrow' it's still cutting off at column H.
In this case try either step 3 or 4 or both...
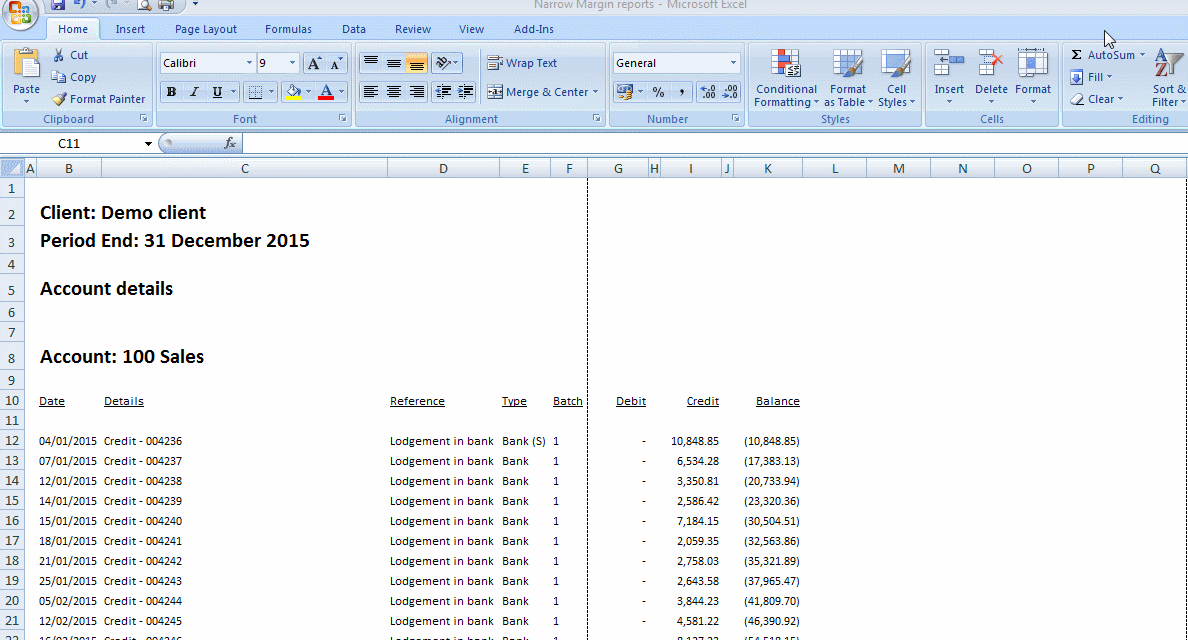
(3) Adjust the orientation
If it's still not all fitting in you can try changing from 'Portrait' to 'Landscape'.
In the demo below - by trying this we fit everything in.
However, some practices prefer keeping things in 'Portrait' - particularly if printing for hard copy files/folders.
If your preference is 'Portrait' then skip this and jump to step 4...

(4) Page break preview
This is a great tool for getting the print view to appear as you like.
If you prefer to leave margins & page orientation as they are, then just jump straight to this step...
See demo below:
- Go to View > Page break preview
- Here you will see where pages are being split
- Just drag the blue vertical line across to the right as seen below
Remember to return to 'Normal' view once you're done!